Recent post
More Stories
The Feeling of a Rusted Brain
“It is time to clean out the rusted brain”. As stay-at-home mothers, the one feeling we think we have is that our brains have rusted!! When I became a new mom it was joyful, but hard for me! Suddenly everything changed around me. My time, my space and me – myself. There were so many changes which were difficult for me to adapt to suddenly. Are you on the same boat? Well, along with that the most disturbing fact for me was that I was not working. I got married after graduation and in a year’s time, I became a mother. Ever since, I carried a dream of becoming a designer for almost 7years. In 2018, when I joined Skillshare to learn and brush through my skills, I had that feeling of having a rusted brain. Why?… Because, after graduation in 2013 and until 2018, the only thing I did was cleaning my house, washing the dishes, changing diapers, taking care of my husband and little one, doing the laundry (which mostly my husband did). Well, all of this is important, but my skills were forgotten with my daily chores and all of a sudden when I started learning, it felt as though my brains were rusted and I felt the difficulty to start. Well, if you are rowing along with me on the same boat, then I would say, Just Start, Don’t hesitate, Just Start! Regularly, giving yourself that time and effort will definitely help you to clean up that rusted brain and make it more active and useful. Exercise :- 1)What is the one thing that you will start doing today to clean your rusted brain and start moving towards achieving your goals or to do something more productive that makes you feel happy or to go from being a stay at home mom to a working Surface pattern Designer(if that is your goal)? Write this down in a book. 2)Create one artwork that resonates with this feeling. It could be anything, simple strokes, marks or elements that depict this feeling and situation.
Explore Your Creativity
Don’t let the unknown stop you from progressing’ “Exploration can always lead to new possibilities, and it has the magic to open a new unknown world.” So, never hold yourself from creating and exploring. It will open new doors for you. I believe in it! The question is “Do you??” When you dig deeper into your curiosity and explore, you end up with new beginnings and it can take you to the next level. This is one thing that I always had my spirit racing for. Creativity keeps flowing when you keep exploring and it could be anything. It could be learning new mediums to paint, trying to propagate your succulents, maybe baking cakes, and decorating them with fondant or learning to do fondant art or creating tiny figures out of Polymer clay. Well, they all are the things that I had explored, and they were all the best things I created in my life as a creator and a beginning for me to unfold my true potential. No matter what I did, they just helped me to keep my creativity alive and most importantly, they helped me to be me. So, now you tell me, what will you start doing to explore your creativity and help it to stay alive without holding yourself back? Find one thing to keep it going and you will see the MAGIC happen!! Here are some things to explore and get started with your art journey. Paint mediums like watercolors, gouache, acrylics, brushes, markers, pens, papers, inks, digital painting. Let me know what sparks you to get started with and to get your creativity flowing. If you would like to get something started, you can check out my classes like Anyone can Portrait, Watercolor with me-Muffins, Watercolor succulents, create Illustrated calendar,Painting Echeveria, Loose and lively veggies and more here on Skillshare or on A to D academy Exercise: 1)Find one medium that you have been thinking of getting started with. What is that medium or idea that has recently come to your mind and you have kept it ‘WAITING’? I believe it is time for you to take that idea out of your mind and put it out there into action. 2)Without much thought, pick up one color from that medium and simply start drawing or painting strokes and some shapes that pop into your head. 3)Repeat this until you get into the practice of creating a creative life for yourself.
Finding Your Design Niche: Tips for Choosing a Specialization
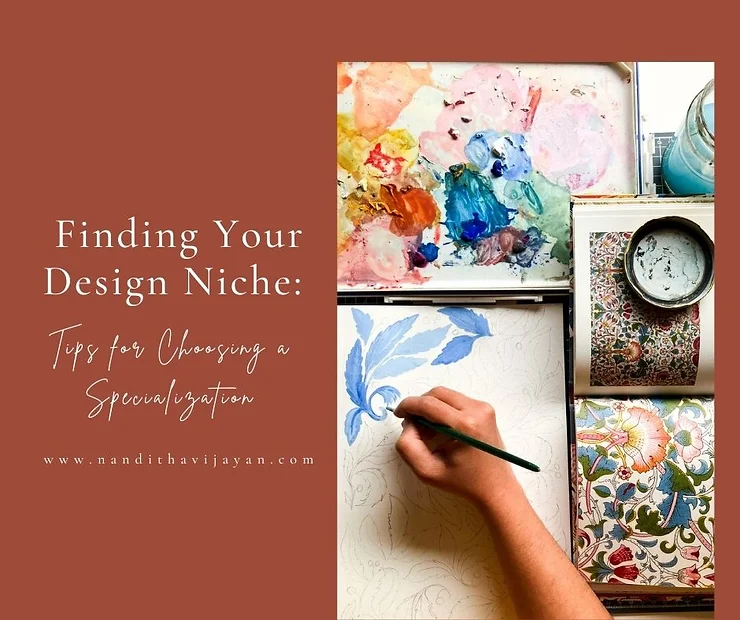
Recently, I was asked this question, “How can I choose my field of design to focus on when I have multiple interests in the field of Graphic Design?” Well, we all know that Graphic Design is a huge industry with multiple streams you could choose to specialize in. Here are a few subdivisions to consider: This list can be overwhelming. So, how can you actually select a field of design to focus on and build a career when you are just starting out? This could be one big question that you are having in your mind-right? I would suggest you to start by listing your topics of interest in design. Bullet point them and narrow them down to the top 3 to 5 fields you’re most passionate about. I know this is hard, but you can do hard things! From this refined list, you can begin your design journey. Here’s what my list looked like when I started out: Now comes the hard part: focusing on your strongest skills. What are you particularly good at? Could it be Hand Lettering, Surface Pattern Design, or Logo Design? For me, I initially had five interests, but I knew focusing on all of them would be tough. So, I narrowed it down to three high-priority fields: In the same way, think of 2 or 3 high-priority areas to focus on and start creating projects based on these interests. If your fields are entirely different, like story design and logo design, figure out which one feels more natural and gives you ease and flow. Once you’ve made your decision, start working on projects in these fields and observe which one interests you more. For me, Surface Pattern Design stood out, as I could create pattern designs for various products including packaging, which was also one of my top three priorities. I was able to incorporate my artworks into home textiles, fashion, greeting cards, packaged boxes, and much more. You can definitely check out more of my design work here. You might also want to notice that, all the 3 design fields were actually going hand in hand with each other for me. As you start working on projects, you’ll naturally feel drawn to a particular area. For me, this was textiles for fashion and home, rather than packaging and greeting cards. I gradually figured out what worked best for me and what no longer interested me. By starting and completing projects, you’ll discover what truly works for you and what you might want to remove from your list. So my friend, let me know if this was helpful for you and if it was, make sure to write back to me.
How to Illustrate florals in 6 simple steps
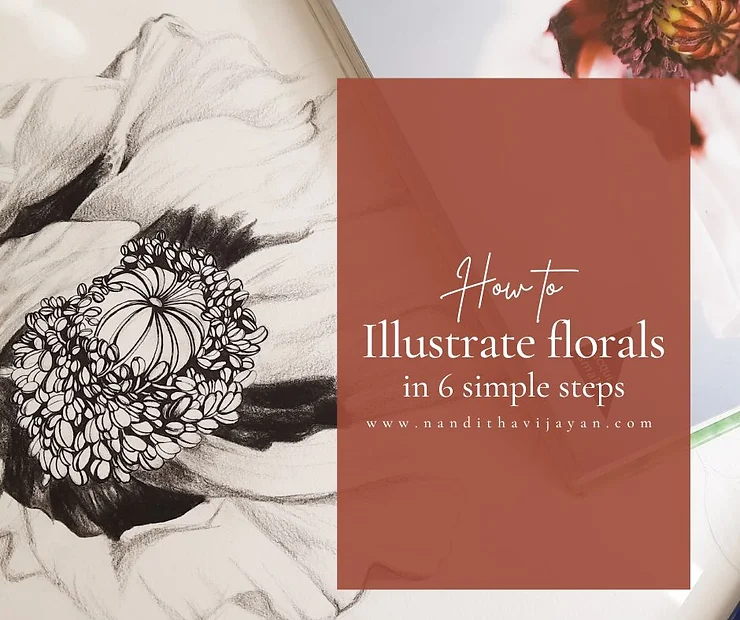
Today’s topic is how to illustrate a flower. You will learn: Let’s start by finding inspiration. You can find it in books, your garden, photos, or on Pinterest. I’ve created a complete board on my Pinterest for you. Tools you will need: Step 1: Start with Basic Shapes Take off your fear and start with a basic shape. From your reference image, identify the basic shape of the flower. Draw a circle (the flower) and a line (the stem). Step 2: Identify the Center and Directional Lines Relax and find the center and directional lines from your reference image. Draw the basic shape with its stem and mark the flower’s center. Notice how the petals form and fall around this center. Draw the petals’ directional lines within the circle. Step 3: Practice Petal Shapes Figure out the shapes and sizes of the petals. Practice drawing petals, focusing on their shapes. Look at the reference image and refine the shapes. Keep the darks and lights as close to the reference as possible. Practice drawing different petals to prepare for the next stage. Step 4: Develop the Floral Combine the steps you’ve learned so far: Look at the reference image and build the petals one by one. Keep your pencil marks light. Focus on the placement and layers of the petals. Step 5: Have Fun with Inking Now, outline your florals with a pen or ink. If using ink, use a nib and holder. Draw lightly and start from left to right if you are right-handed, to avoid smudging. Erase unnecessary pencil marks once you’ve finished outlining. Step 6: Refine Shading Refine the edges of the petals and start shading with a black color pencil. Keep the pencil tip sharp for better control. Shade from the darkest to the lightest areas of each petal. Follow the reference image to understand the light and dark areas. Apply the shading techniques to bring your petals to life. Use a fixative to seal the illustration and prevent smudging. Practical Applications Now that you’ve learned how to illustrate a floral, you can use these skills to develop patterns as a Surface Pattern Designer. Keep practicing, and you’ll build confidence and skill in your floral illustrations. If you are looking forward to learning this in detail, make sure to join my online course-How to Illustrate florals in 6 simple steps.

