
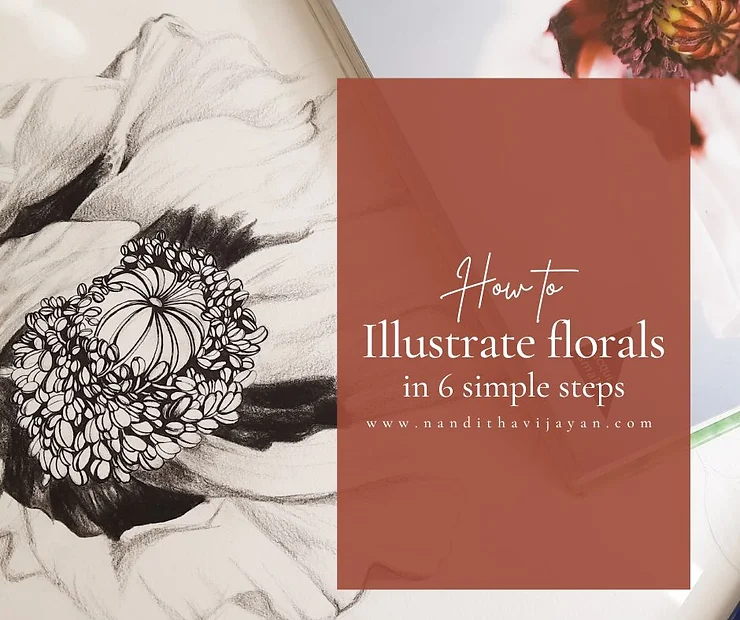
Today’s topic is how to illustrate a flower. You will learn:
- How to find floral inspiration
- How to draw from a basic shape and convert it into a complete floral illustration in 6 simple steps
- Techniques to create a floral and its detailing
- How practicing these steps will build your skills
- How this skill can help you in real-life scenarios as a Surface Pattern Designer
Let’s start by finding inspiration. You can find it in books, your garden, photos, or on Pinterest. I’ve created a complete board on my Pinterest for you.
Tools you will need:
- A graphite pencil or mechanical pencil
- A black pigment liner pen (0.5) or any thin-tip pen
- A black color pencil
- An eraser
Step 1: Start with Basic Shapes
Take off your fear and start with a basic shape. From your reference image, identify the basic shape of the flower. Draw a circle (the flower) and a line (the stem).
Step 2: Identify the Center and Directional Lines
Relax and find the center and directional lines from your reference image. Draw the basic shape with its stem and mark the flower’s center. Notice how the petals form and fall around this center. Draw the petals’ directional lines within the circle.
Step 3: Practice Petal Shapes
Figure out the shapes and sizes of the petals. Practice drawing petals, focusing on their shapes. Look at the reference image and refine the shapes. Keep the darks and lights as close to the reference as possible. Practice drawing different petals to prepare for the next stage.
Step 4: Develop the Floral
Combine the steps you’ve learned so far:
- Start with a basic shape.
- Identify the center and directional lines.
- Understand complex petals.
Look at the reference image and build the petals one by one. Keep your pencil marks light. Focus on the placement and layers of the petals.
Step 5: Have Fun with Inking
Now, outline your florals with a pen or ink. If using ink, use a nib and holder. Draw lightly and start from left to right if you are right-handed, to avoid smudging. Erase unnecessary pencil marks once you’ve finished outlining.
Step 6: Refine Shading
Refine the edges of the petals and start shading with a black color pencil. Keep the pencil tip sharp for better control. Shade from the darkest to the lightest areas of each petal. Follow the reference image to understand the light and dark areas. Apply the shading techniques to bring your petals to life.
Use a fixative to seal the illustration and prevent smudging.
Practical Applications
Now that you’ve learned how to illustrate a floral, you can use these skills to develop patterns as a Surface Pattern Designer. Keep practicing, and you’ll build confidence and skill in your floral illustrations.
If you are looking forward to learning this in detail, make sure to join my online course-How to Illustrate florals in 6 simple steps.